Michelangelo is supposed to have said of the challenges in sculpting “David”;
It is easy. You just chip away the stone that doesn’t look like David.
There is some truth in that, but it helps to have a plan.
Pictures really help
“Real” artists have models or pictures in front of them. This isn’t a test of your memory for details! Start with several printouts of your subject, preferably in different poses or angles. Put the printouts into a gallon sized ziploc bag which will protect them from water, wind and sand.
Sand Pile
Your sand pile should be in the general shape of your finished subject but a couple of inches larger all around. It needs to be solid, which is accomplished by piling wet sand and then wetting it with more water.
If the pile of sand is not already in the general shape of the subject, gently use the pie knife or paper towel holder to scrape away enough to make the general shape (but still larger than you will need).
Visualizing
Since you are making a 3-dimensional object from a 2-dimensional picture, you will need to morph the image in your mind into 3 dimensions. I’ll admit, this is hard to explain. Try to imagine taking the picture (2D) and bending it around the sand into the 3D shape. Or think to yourself, if this thing were real and here, where would each of the features (ears, nose, etc. be positioned on this pile of sand?
Sketching
If you lightly sketch the design onto the sand, you can reduce making errors that you cannot later undo.
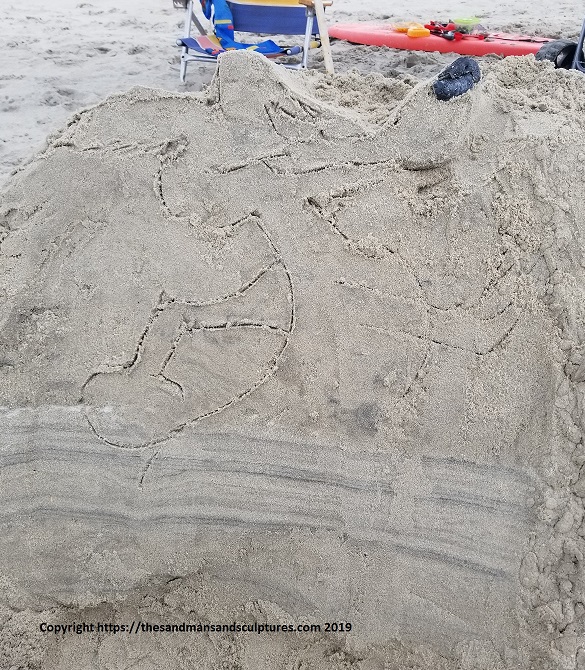
To do this, with the tip of the pie knife, gently and lightly sketch the design on the pile of sand. Start with the top and then the front. Slowly carve the top into the shape, as if you were looking down on the image in the picture.
ALWAYS start sketching with the top, looking downwards – this sets the shape, size of the other features. so, take your time to get it right, meaning proportion and position. Imagine where you will be putting the features (ears, eyes, etc.) when you carve down to them.
After sketching the top and front, do the sides, positioning ears, etc, where they should finally be.
Below, the Coyote sketched onto a sand pile. See the finished version here.

Top down, always
Likewise, with carving, start from the top down always. the sand you carve away will fall (wait for it!) downwards.

Limitations of sand
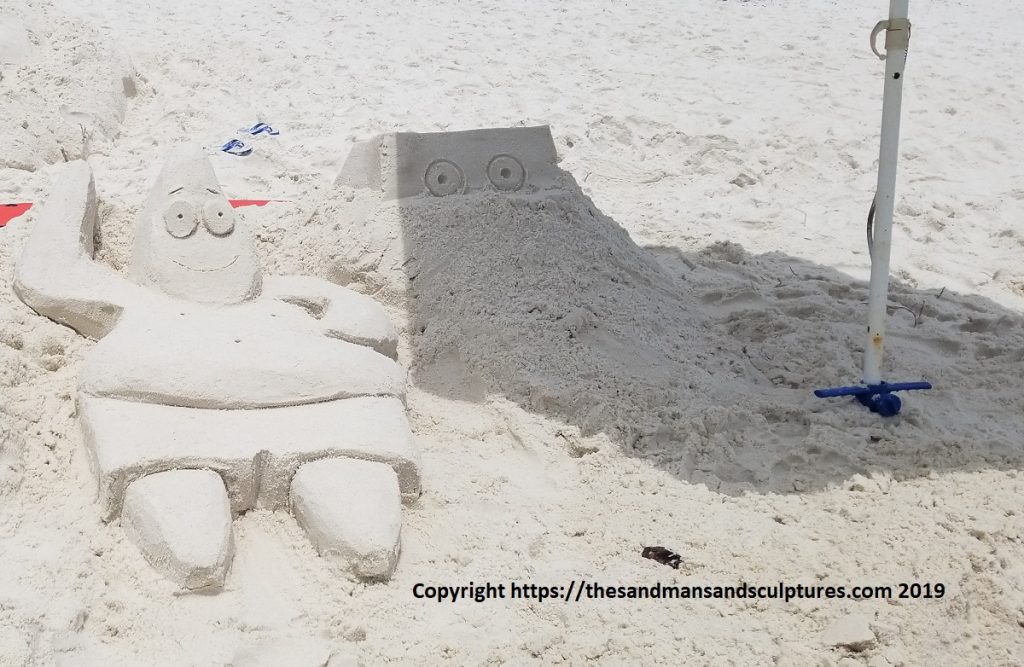
It’s sand. Not marble, not clay, not concrete. Meaning, it does crumble, and you can’t make projects, like noses that stick out more than a couple of inches. So, maybe you do yours as a relief, rather than fully 3D. For example, I did the road runner and coyote as mostly a relief, meaning a 2D image etched into a flat surface. Spongebob and Patrick, on the other hand are faiurly stable in 3D (except for Spongebob’s nose)
Also, most sand does NOT like to be patched, meaning once you’ve varved it off, or a piece has broken off, you can’t patch it by sticking wet sand back on. OK, once in a wile that works, but usually it falls off again when it dries. SO just carve back farther into the pile instead!
Next: How to use the tools
Leave a Reply